iPhone 11 Pro x Moment 15mm Fisheye

Now that I’ve had the iPhone 11 Pro for a few months, I just wanted to do a quick post about the value of using Moment lenses with this phone. I have the Moment 60mm, which is a telephoto equivalent; the Moment 18mm Wide Lens, and the Moment 15mm, or "Superfish", and I used them all regularly with my iPhone 7.

My Moment collection

My Moment collection

But when the iPhone 11 was first announced, I wondered about whether these lens attachments would still be as useful, given that the iPhone now has those focal lengths covered with its built-in trio of lenses. Also, the Moment lenses require having a Moment case, with its bayonet lens mount, but the new iPhone 11 cases didn’t ship until sometime in December. By the time I finally received mine, I’d kind of gotten used to not having access to my Moment lenses at all, and was getting along just fine without them:

My iPhone 11 Pro with Moment Case

My iPhone 11 Pro with Moment Case

Anyay, I finally got my case, but I wasn't using the lenses. It was just more convenient to not have to carry them around, plus I could be seamlessly switching between the focal lenghts of my iPhone's stock lenses.

I was out shooting some low-light photography, and I eventually figured out at least one answer for why you'd still want to use these lenses: Night Mode. Apple's Ultrawide lens (0.5x, as it's indicated in the iPhone's Camera app) is great, but is limited in a couple of ways. First, it's got a smaller aperture than the Wide (aka default or 1x) lens, meaning it lets in less light. It also doesn't work with Night Mode, which makes it doubly tough to use in low light situations. But, you can solve that by using one of Moment's Wide or Fisheye lenses stacked on top of the built-in iPhone Wide lens:

As you can see in the images above, Night Mode is impressive, but with the Moment 15mm Fisheye (fka the Moment "Superfish"), the field of view improves dramatically. These images are straight out of camera, with no adjustments, though as a matter of preference I'd normally correct some of the fisheye distortion using the Moment Pro Camera App.

Just as a matter of comparison, here's an image shot with the built-in iPhone 11 Ultrawide:

Same scene as the first two images, shot with the Ultrawide

Same scene as the first two images, shot with the Ultrawide

My intention with this comparison isn't to disparage the Ultrawide; it's a fantastic addition to the hardware, and I'm willing to bet it'll get improved optics on Apple's next iPhone, which is safe to assume we'll hear about in September. It's just to illustrate what a difference Night Mode makes, and to show how you can compound those advantages with an add-on like the Moment lenses.

Similar results are available on the other end of the spectrum; namely, stacking a Moment telephoto lens on top of the built-in Tele lens will get you that much closer to your subject. Just be aware that you won't be able to use Portrait mode, because when a Moment lens is mounted on the iPhone's 2x lens, it obstructs the iPhone's other lenses, which it uses to read the scene and generate depth of field and bokeh.

Attached Moment lenses block the iPhone’s other lenses

Attached Moment lenses block the iPhone’s other lenses

Good ➡️ Better: Food Photos

I recently had dinner with my wife and friends at a great restaurant in DUMBO, and like basically, everyone these days, I wanted to document the delicious food I was eating. For posterity, or whatever.

That night, I happened to have my fancy Fuji X100S with me, but as is often the case, it was just more convenient to use my iPhone. Here's a picture of my entree:

Smoked Long Island duck with daikon radish, lavender, roasted apricot and duck jus

Smoked Long Island duck with daikon radish, lavender, roasted apricot and duck jus

It was the duck and it was delicious. You might even actually believe me, just from seeing that photo, but... let's just be clear, here: food photography is an art, and requires tons of skill and preparation, and at minimum, proper, balanced lighting to make it look good. It's really, absurdly easy to go from appetizing to nauseating when taking pictures of food, particularly with a mobile device, in dim restaurant lighting, which is one reason I rarely post my food shots on social media in the first place. Be realistic with your expectations, y'all.

That said, here are some steps you can take to set yourself up for success:

  • First things first: give your lens a wipe with the corner of your t-shirt before shooting. That's an easy win - your image will be much clearer if there's not a schmear of crap on the glass (that's photographer-speak for "lens").
  • Also, know your equipment. I'm shooting with an iPhone, and no disrespect to Tim and Jony, but iPhones (and most mobile devices) are happiest in bright sunlight, not the carefully curated ambience of a restaurant. Because of that, in low light situations, make sure to hold your phone as still as possible to avoid camera shake before tapping that shutter button.
  • Speaking of avoiding blur, make sure your subject is in focus. Soft edges on food = a pile of gross mush. On iPhone, tap to focus and expose a region of your scene; tap and hold to lock in those settings so you can recompose the shot if necessary. You can slide up or down on the screen to brighten or darken your image.
  • Lastly, composition is crucial. Frame your photo at an interesting angle, being sure to keep the clutter out of the frame, and create some depth.

Okay, now that I have my photo, as seen above, there are some basic tweaks to be made in my editing app of choice. If you have an iPhone, you can start with the built-in editing features in the Photos app (bonus: the edits you make will be synced with iCloud, so you can call continue to edit in Photos app on the desktop or other iOS devices).

Tap here to edit! 

Tap here to edit! 

One of the first things to do is boost the exposure of the image. Almost any image can benefit from a little pop of exposure and/or contrast. Be judicious, though.

The Photos app tries to automatically help you out by offering a "Light" slider that, in many cases will figure out the right combination of exposure, brightness, shadow  and highlight tweaks to make your image look good. Just by moving that slider to the right, I'm already in a better place than where I started.

IMG_2673.PNG

I could stop here, but there's still room for improvement. By tapping the list icon on the right, I can edit individual properties of the image, and have more fine-grained control. Awesome. 

IMG_2674.PNG

Indoor lights — usually incandescent — can make everything yellow, which isn't great for food photos. A quick tweak to the white-balance, or color cast, under the Color slider,  should help.

IMG_2675.PNG

So here we are, just using the built-in tools that come with iOS:

FullSizeRender.jpg

Again, miles better than where we started. Now, because I'm a fancy photographer-dude, I sometimes like to go beyond the default tools in iOS, and use one of the myriad editing apps that are available in the App Store. One of my favorites is Lightroom Mobile, because of its advanced editing tools and desktop-syncing features (the app is free on iOS/Android, but a Creative Cloud subscription is required for syncing and some of the editing tools). Snapseed, free on iOS and Android from Google, is also a fine choice.

Lightroom Mobile's interface

Lightroom Mobile's interface

Here's where I ended up, after correcting the white-balance, performing a Curves adjustment and cropping out some of the distracting highlights on the bottom of the plate: 

I also messed around with the hue and saturation of some of the individual colors. Another thing to remember is that, much like a skilled chef cooking a meal would never use every spice in their cabinet, we must resist the temptation to be heavy-handed and use every slider available when editing our photos. Less is very often more.

Anyway, still not quite ready for Bon Appétit, and there's certainly areas that could be improved, but I think it's way more share-worthy than before. And before you ask, yes, I did snap a quick shot of my caramelized banana dessert:

So there you have it: while you probably still won't get hired as a food photographer based solely on tweaks like the ones I've made here, these simple steps you can take to get your food pictures from Good ➡️  Better.

Moment

I got a nice little surprise when I got home today - the new Moment Wide lens and Photo Case that I backed on Kickstarter arrived in the mail today, rather than on Saturday, as i was expecting.

Moment Photo Case, Moment Wide Lens (V2) and Moment Tele (V1 with adapter) 

Moment Photo Case, Moment Wide Lens (V2) and Moment Tele (V1 with adapter) 

IMG_2406.JPG

I've only just gotten this kit, so I don't have much of to say in terms of performance yet. I do like the new case - it's slim, and textured on the back, which gives it a bit of grippiness. Once the lens is attached, though, the added weight tweaks the balance of the phone a little, and could make it a somewhat spill-prone. The case does have a spot to attach a wrist or neck strap—several styles of which are available for purchase on Moment's online store—which is something I might consider getting. 

The V1 Tele lens with the adapter

The V1 Tele lens with the adapter

One other thing: my first-gen Tele lens never fit well on the Moment case I got for my iPhone 6. It always seemed like it was on the verge of falling off, since it never locked into place, but rather kept spinning, as though the bayonet mount was stripped. Luckily, the new adapter that came with my Kickstarter reward (also available at the Moment store, for $5), was easy to attach and provides a nice, firm connection to the case. 


Shot with Moment Wide, V2 on iPhone 7

Shot with Moment Wide, V2 on iPhone 7

I'm looking forward to spending some time with these two lenses, and will definitely post again with updates once I've had a chance to do that. 

Northern Spy Food Co.

northern-food-spy-portrait

My wife and I made a visit to the always awesome Highline Park yesterday, where I made this portrait of the young sandwich artist (artisan?) who hooked up our excellent grilled cheese sandwiches at the Northern Spy Food Co.’s Highline outpost. Like many other photographers, it’s an ongoing goal of mine to shoot more portraits of strangers, so this was a small step in that direction for me. Sadly, I neglected to get my subject’s name — definitely a rookie move on my part.

Incidentally, the sandwiches were slowly crafted and went well with the gazpacho we shared. Gazpacho is one of those things that’s never my first choice, but when I do have it, I enjoy it immensely. We finished our meal off with a tasty treat from L’Arte del Gelato across the way. Delicioso!

One last note: I made my diptych above with Tych Panel, which was recently updated for compatibility with Photoshp CS6. For the unfamiliar, Tych Panel is a fantastic extension for Photoshop that allows you to easily create n-tychs from a group of photographs. I highly recommend it.

VSCO CAM: App Review

VSCO CAM

A friend of mine hipped me to an amazing set of plugins for Lightroom, Photoshop and Aperture called VSCO Film. The point of these plugins is to very carefully and precisely emulate the look of classic film in your high-end photography, and I think they do so really well.

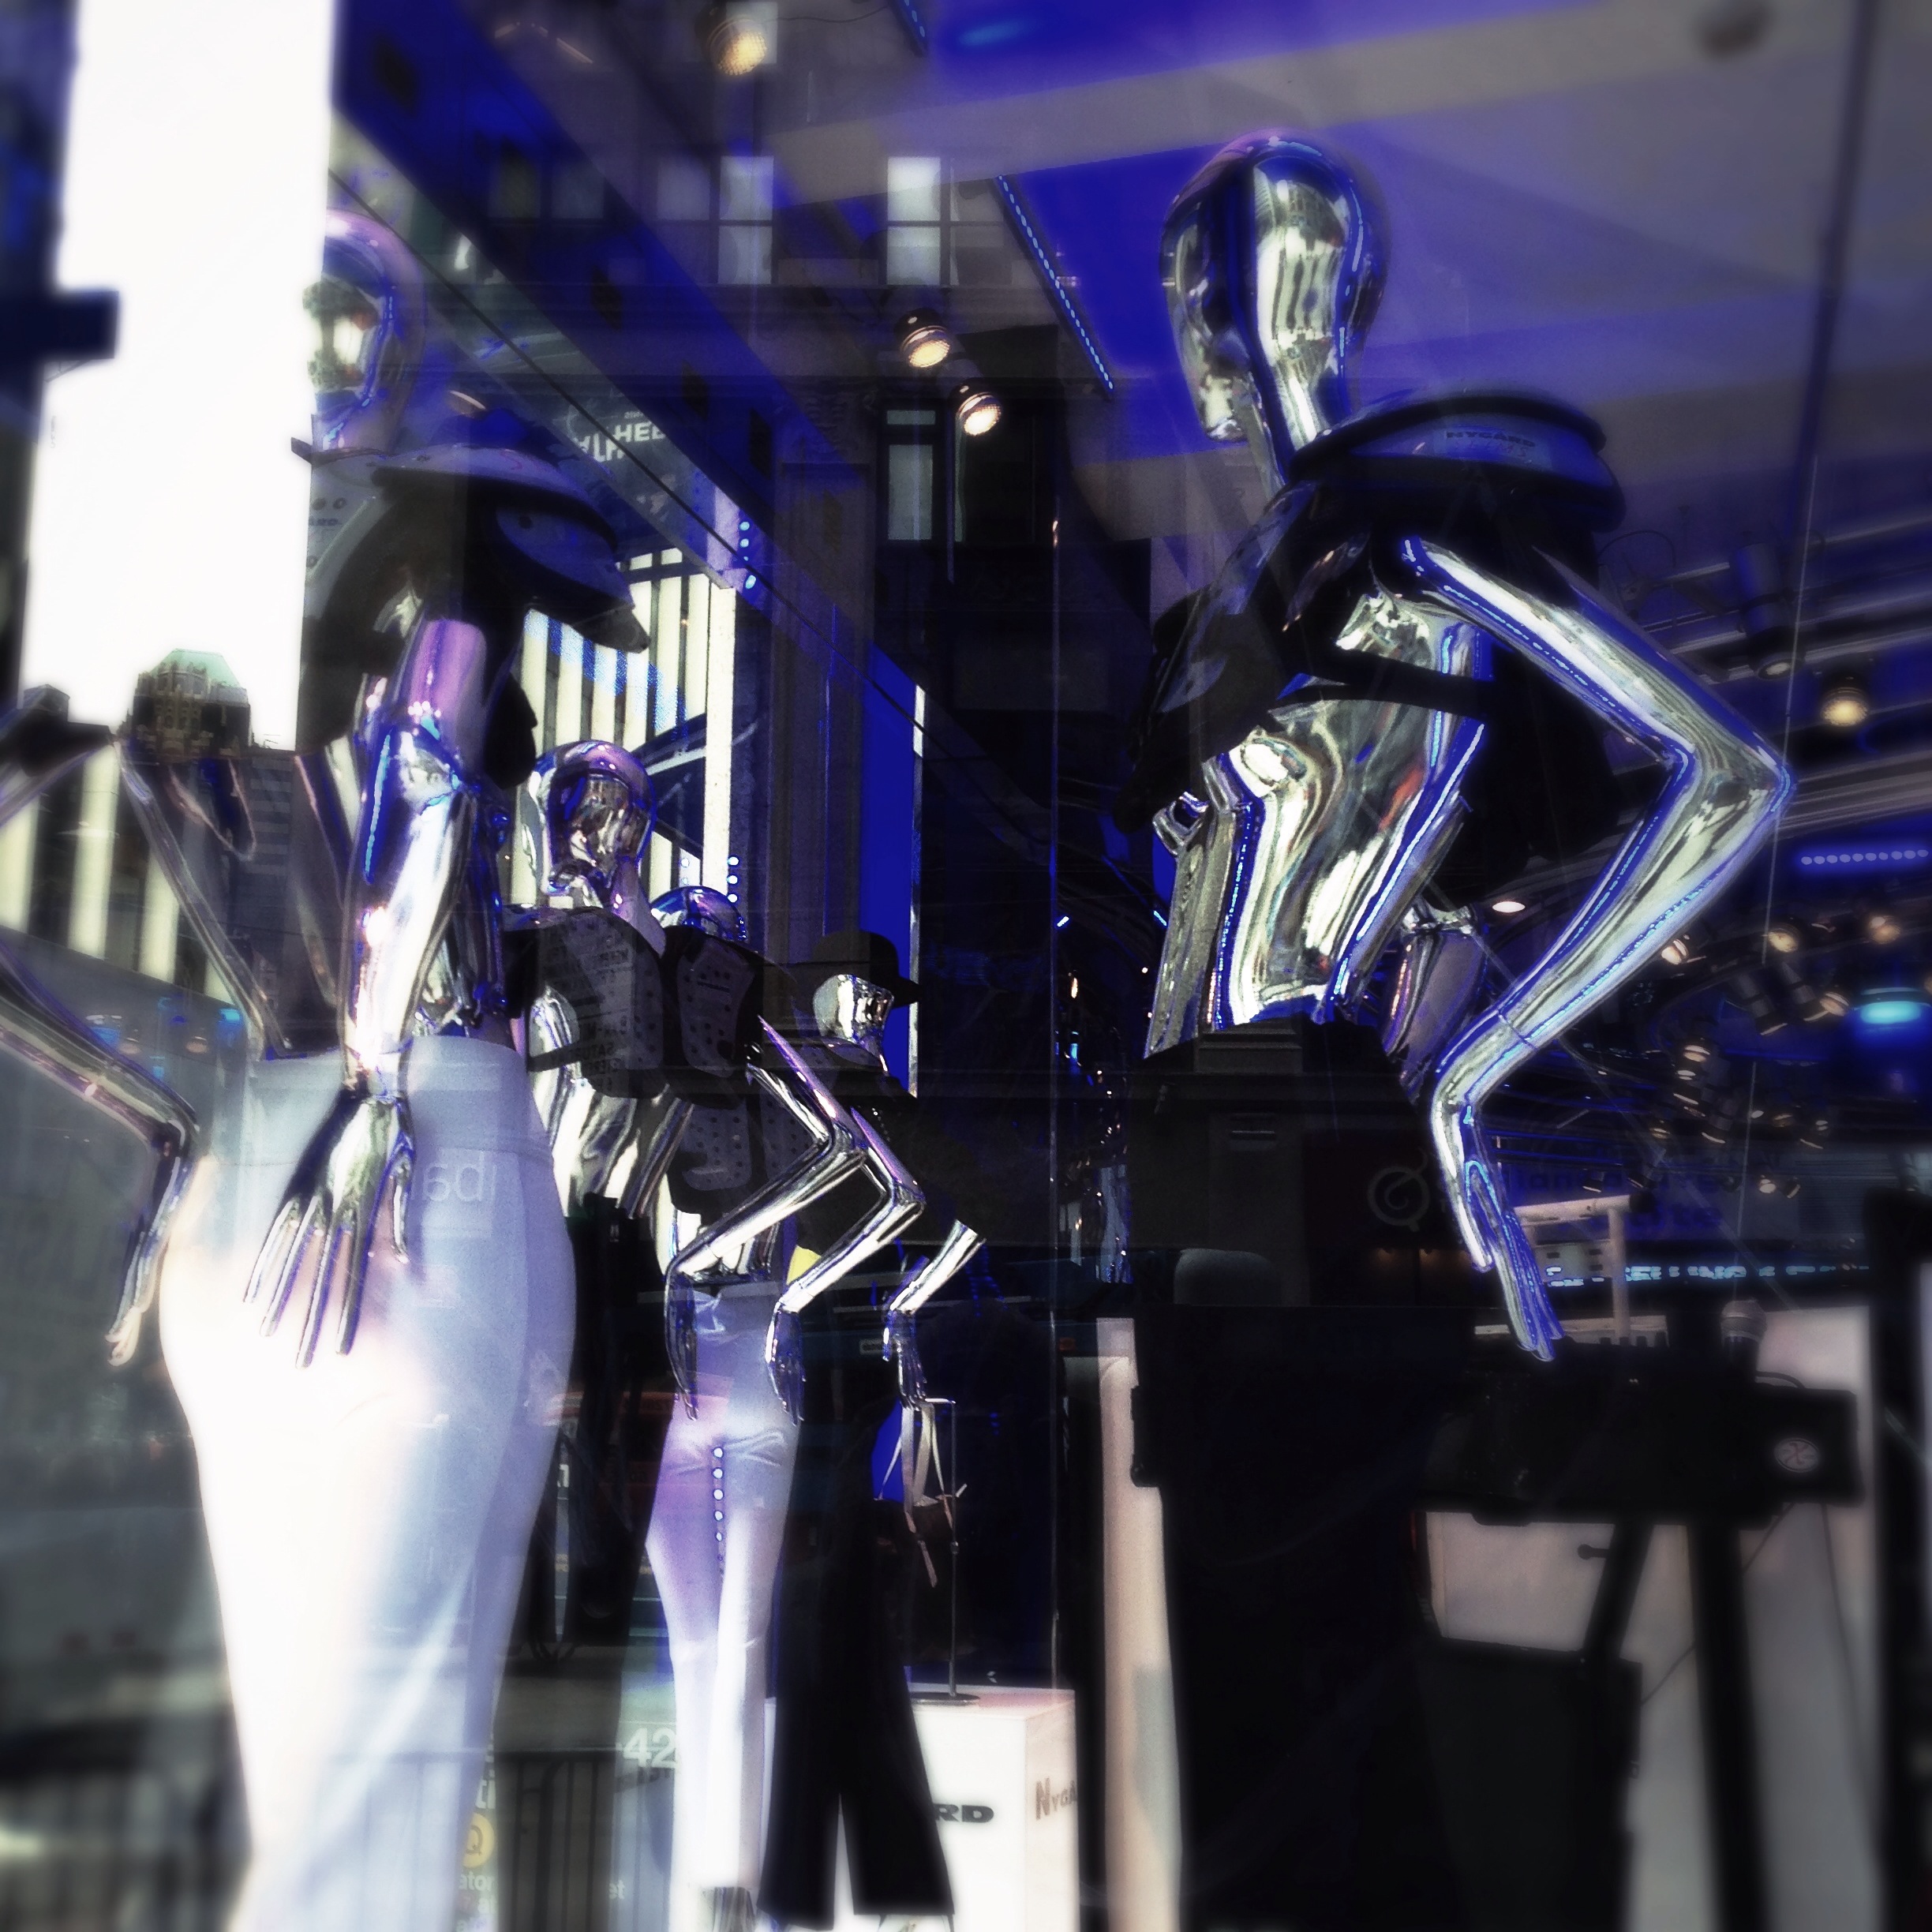
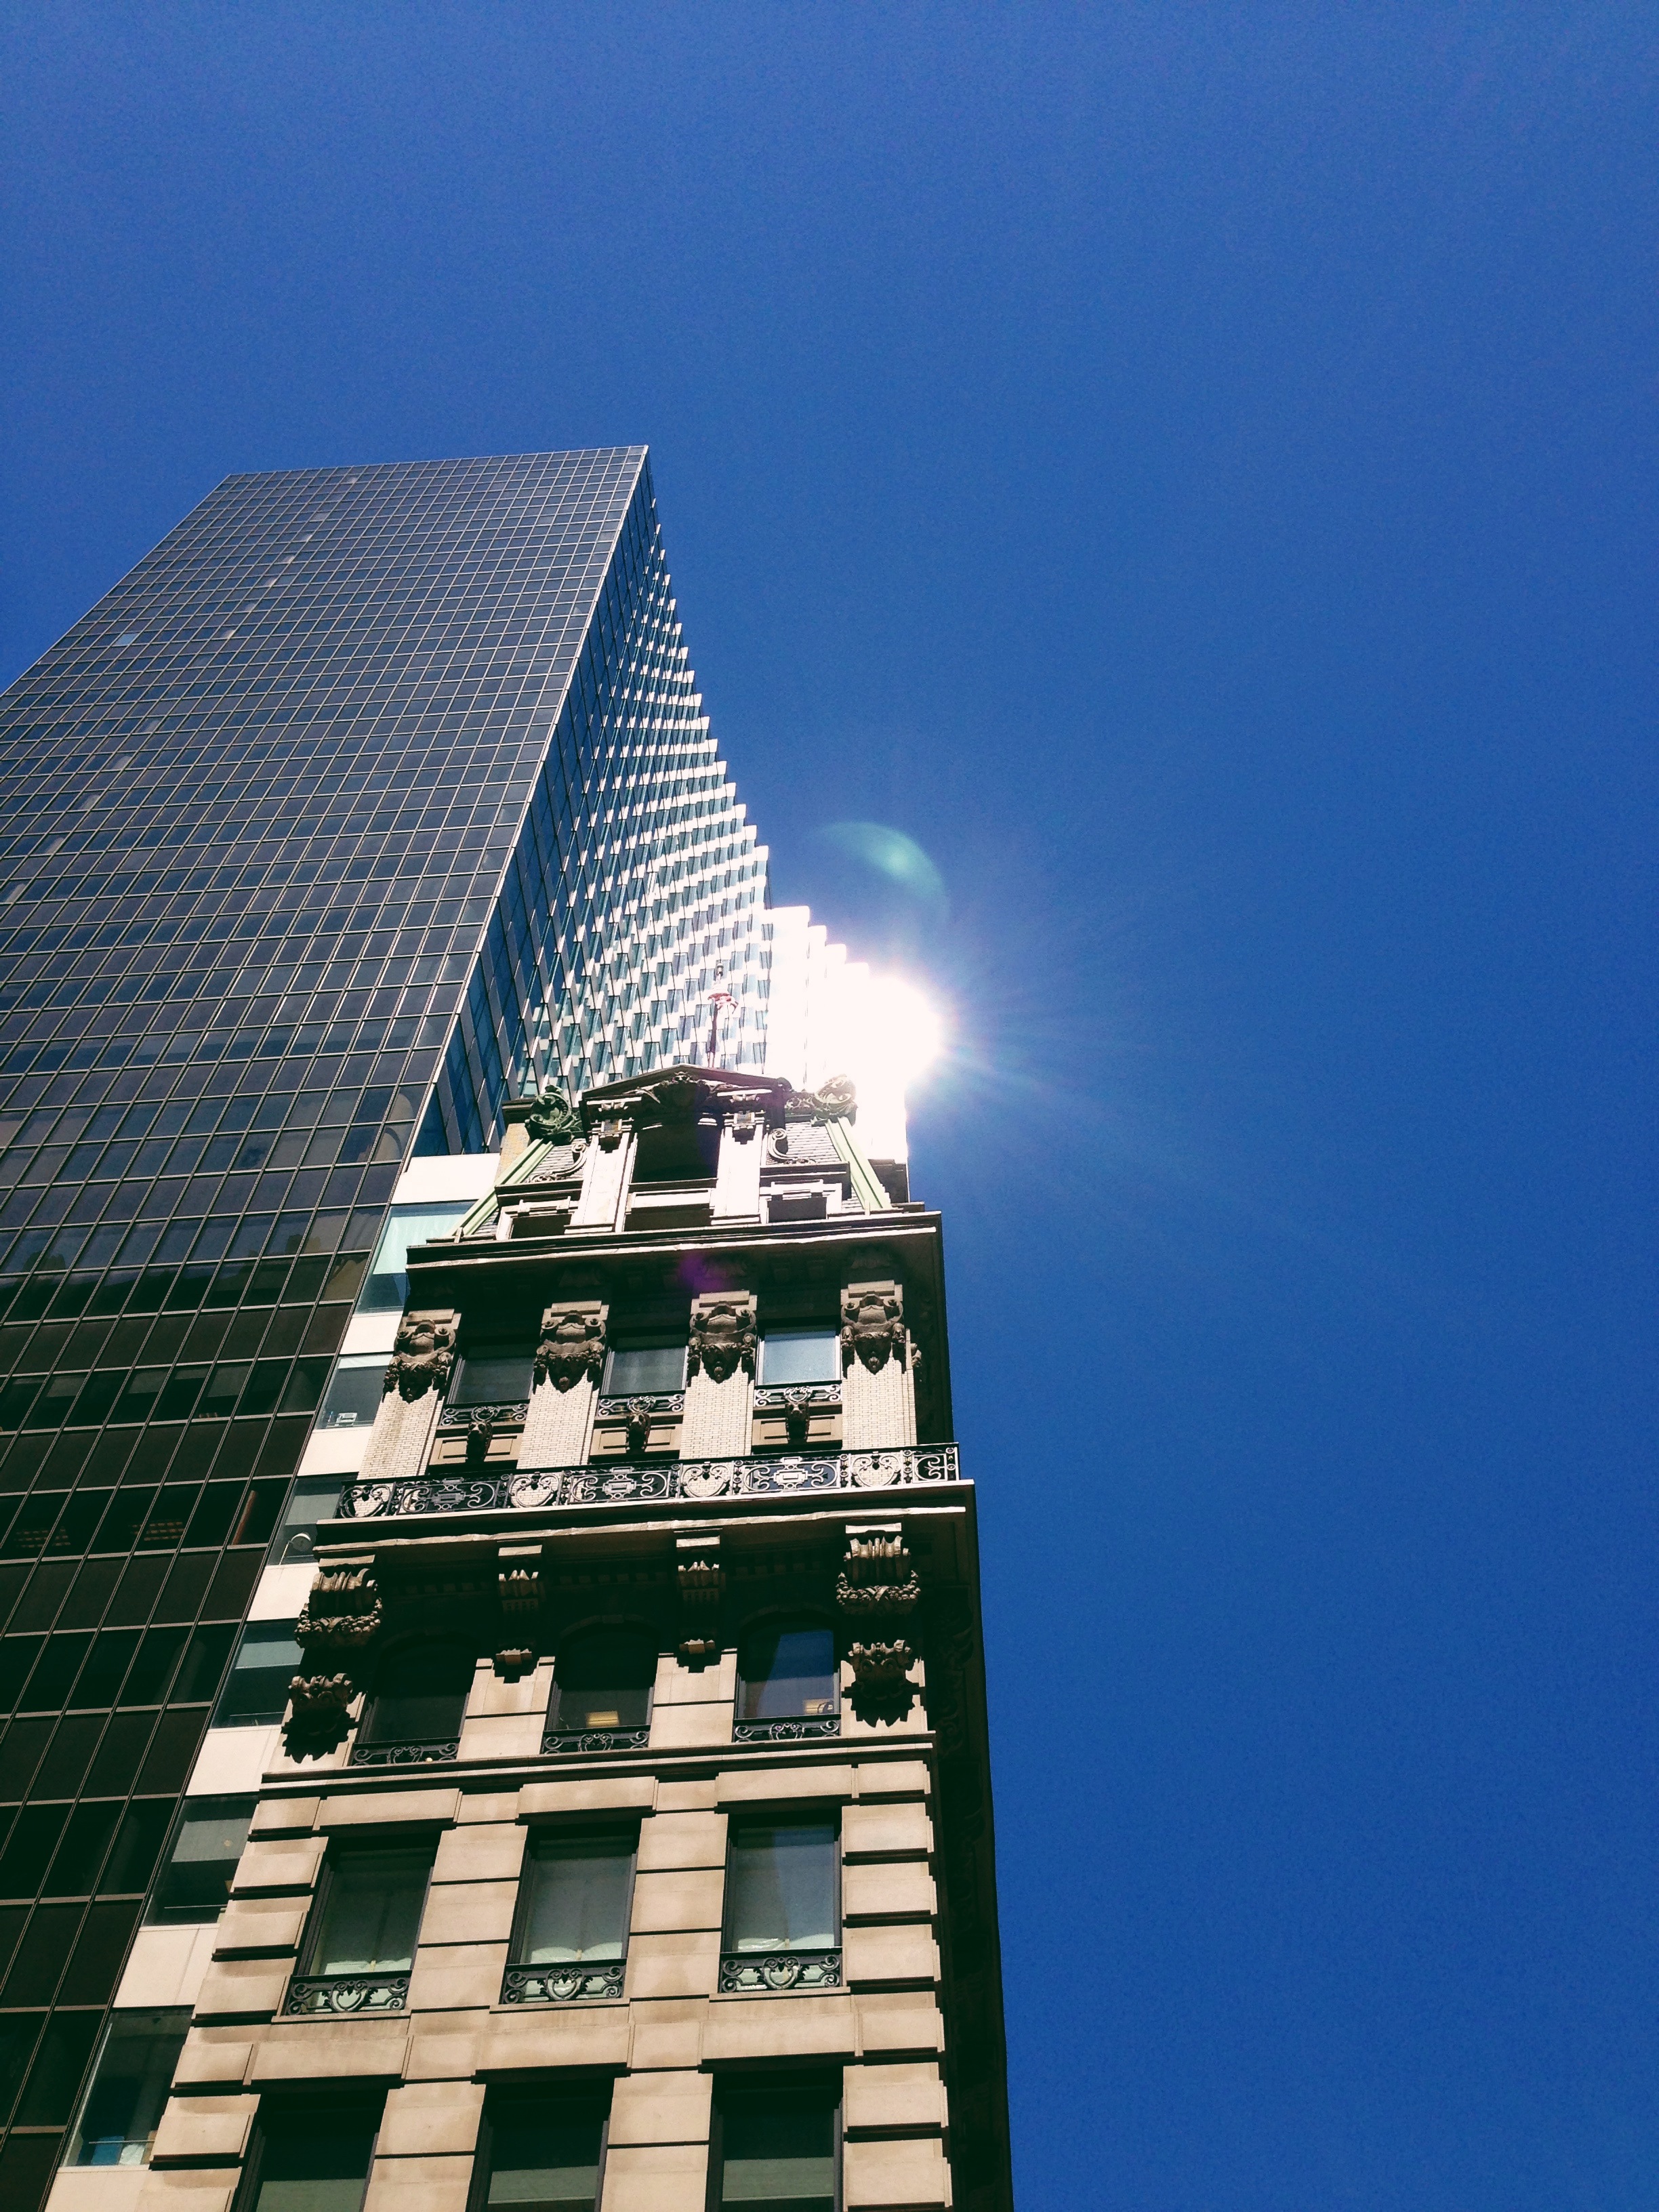
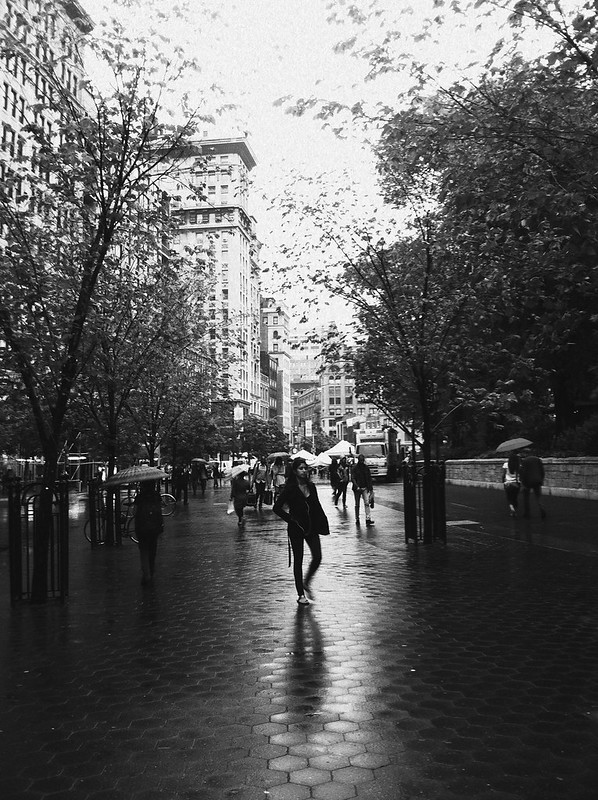
Visual Supply Company, the folks who make VSCO Film have just released their first iOS app, VSCO CAM, which aims to bring the same high-quality film photography emulation to your iPhone. I know that the market for apps that make your iPhone photos look like they were shot in 1974 is pretty saturated, but VSCO CAM is different - in general, the effects just seem to feel more timeless and less heavy-handed than what a lot of other apps produce.

The app itself is very minimal. It works sort of the same way Camera+ does, in that you can shoot continuously, and your photos get saved in a “lightbox” holding area until you’re ready to process and/or save them to your Camera Roll, or share them to a handful of external services, including the usual suspects like Instagram, Twitter, and Facebook.

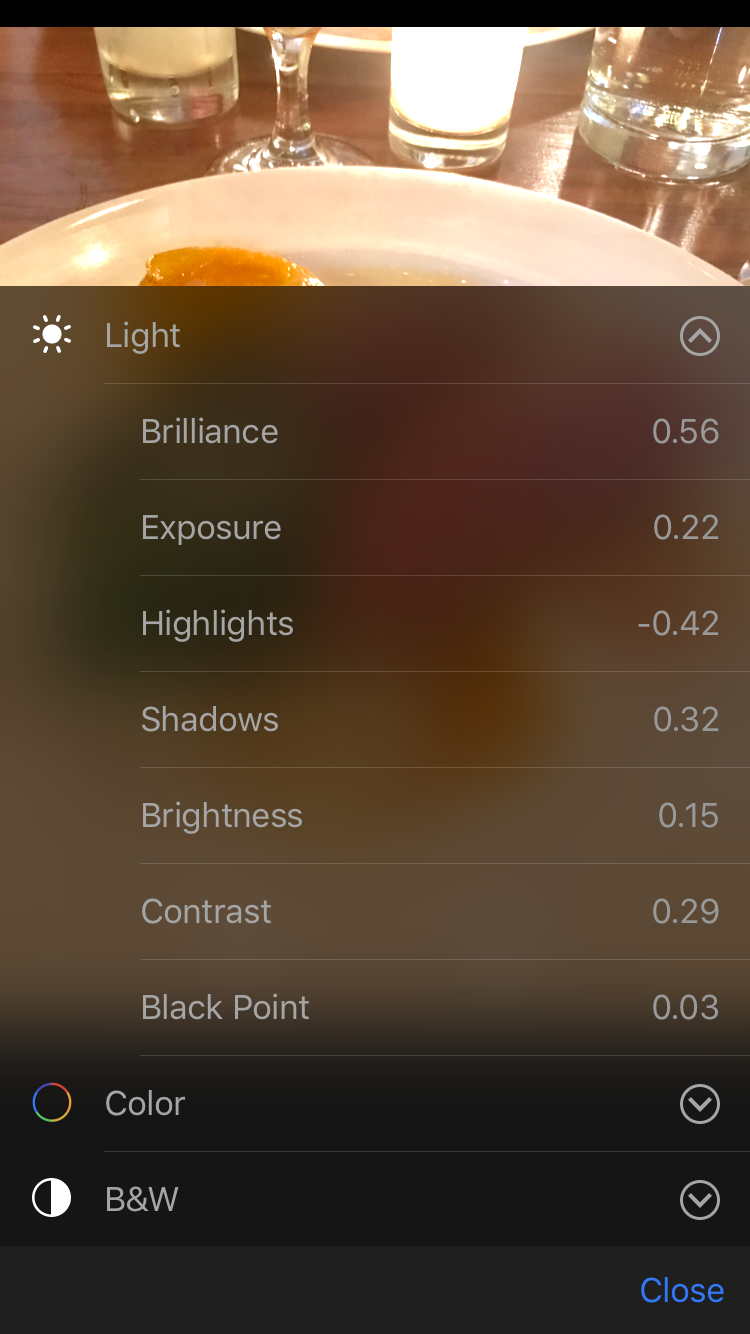
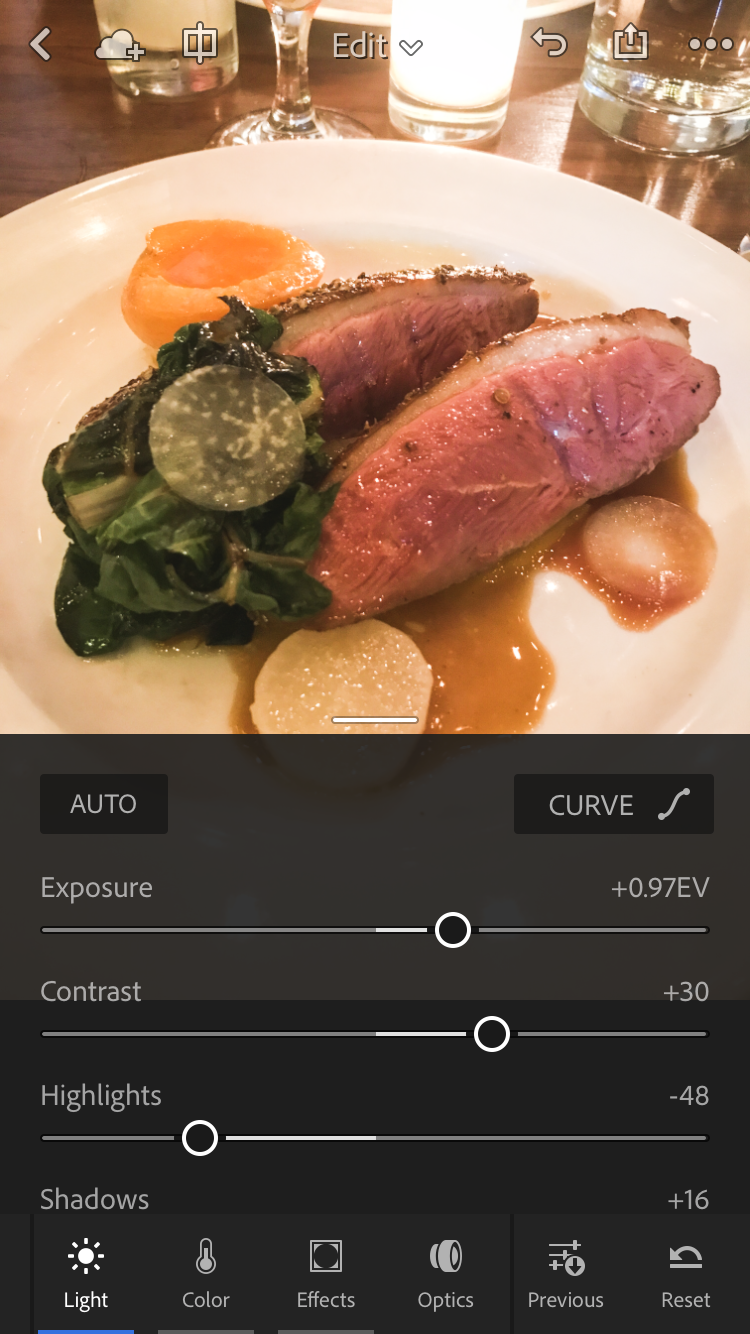
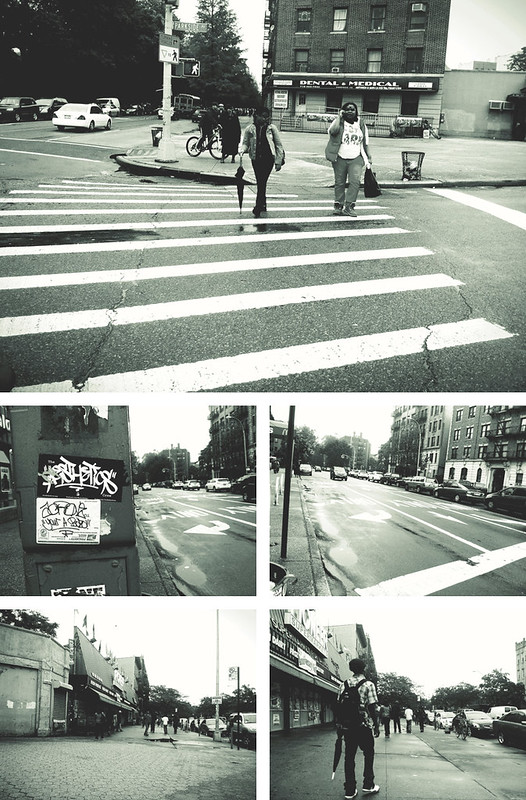
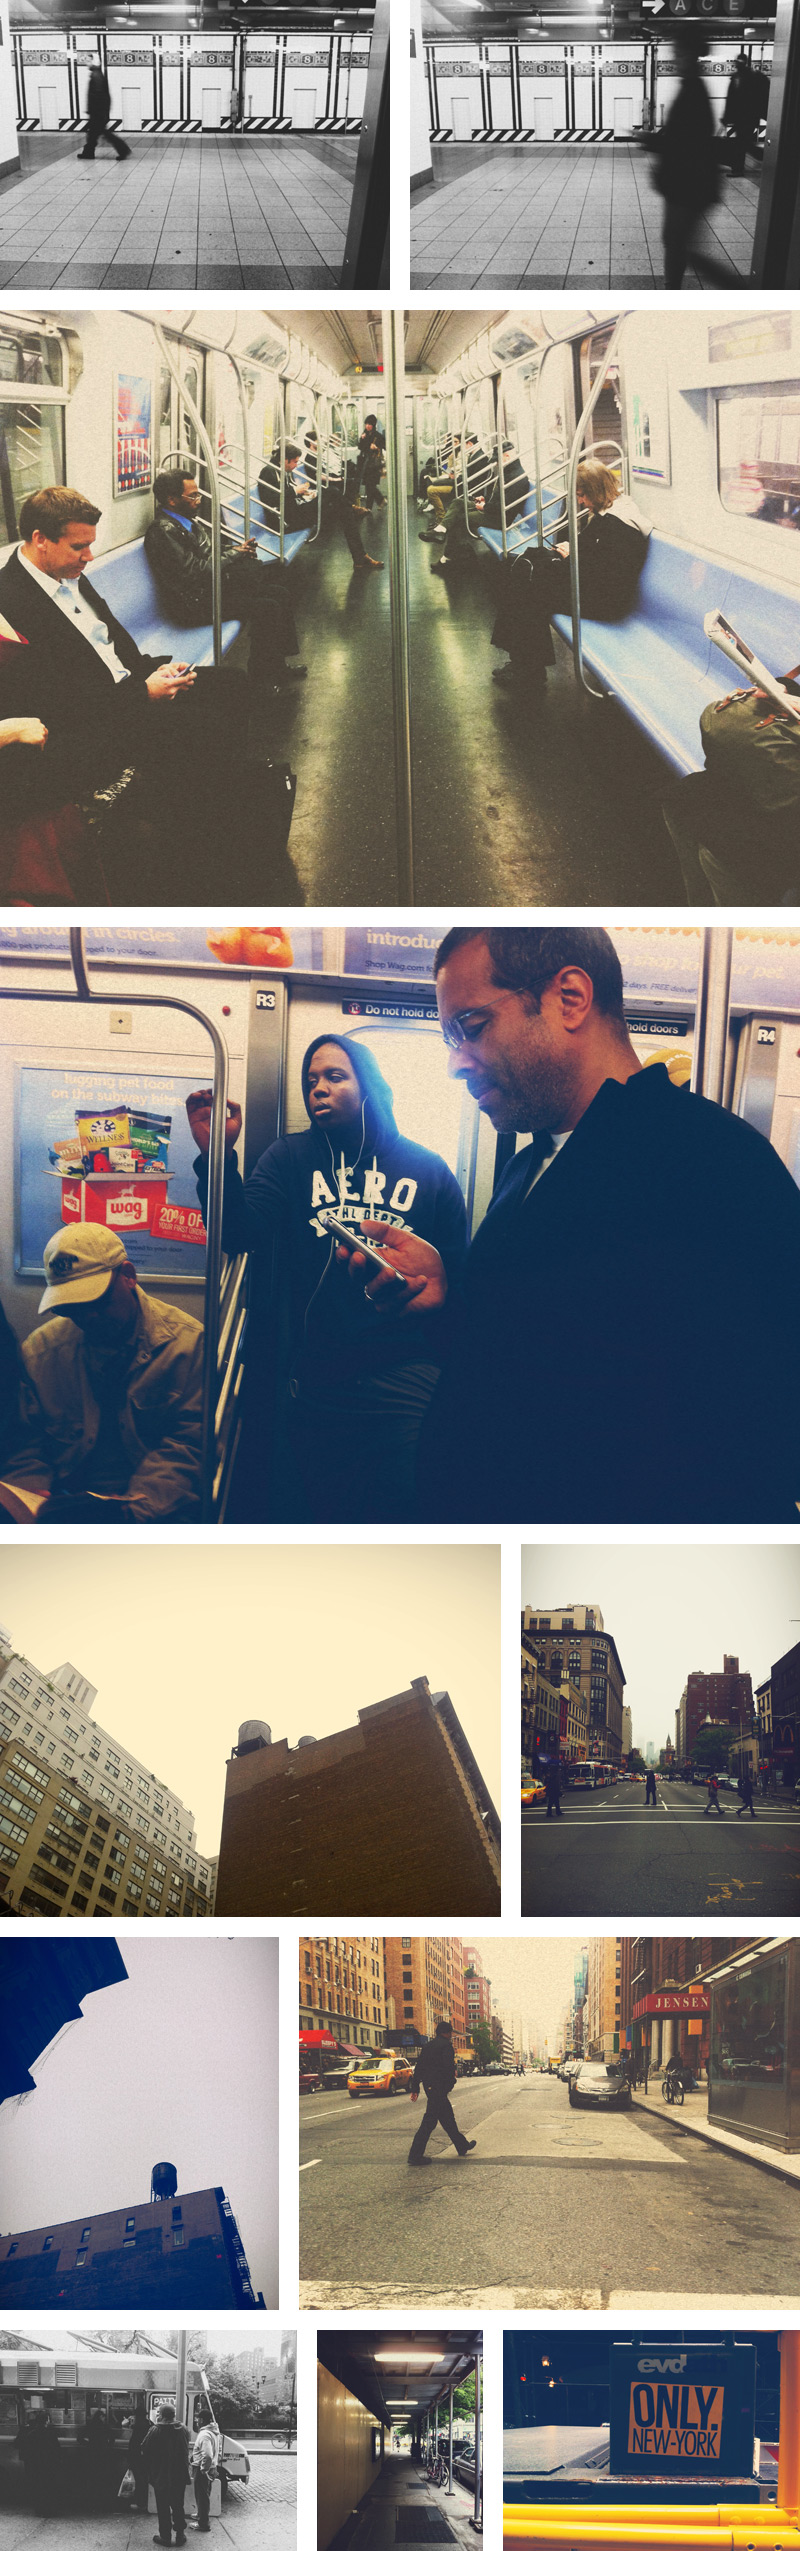
Once you’re ready to edit, there are ten preset filters to choose from - three black and white, and seven color filters. (It took me a couple of days to realize that there were, in fact, ten filters, because there’s no indication that you can swipe to the right and find the five additional filters that aren’t visible on the initial editing screen.) Once you’ve chosen a filter, you can stop right there and save or share your photo, or you can refine the photo further by clicking on the little wrench and screwdriver icon to adjust various settings, including contrast, grain, saturation, temperature, and one that’s unique to VSCO CAM: fade. (Again, swipe to the right from the settings screen to find additional items you can adjust.)

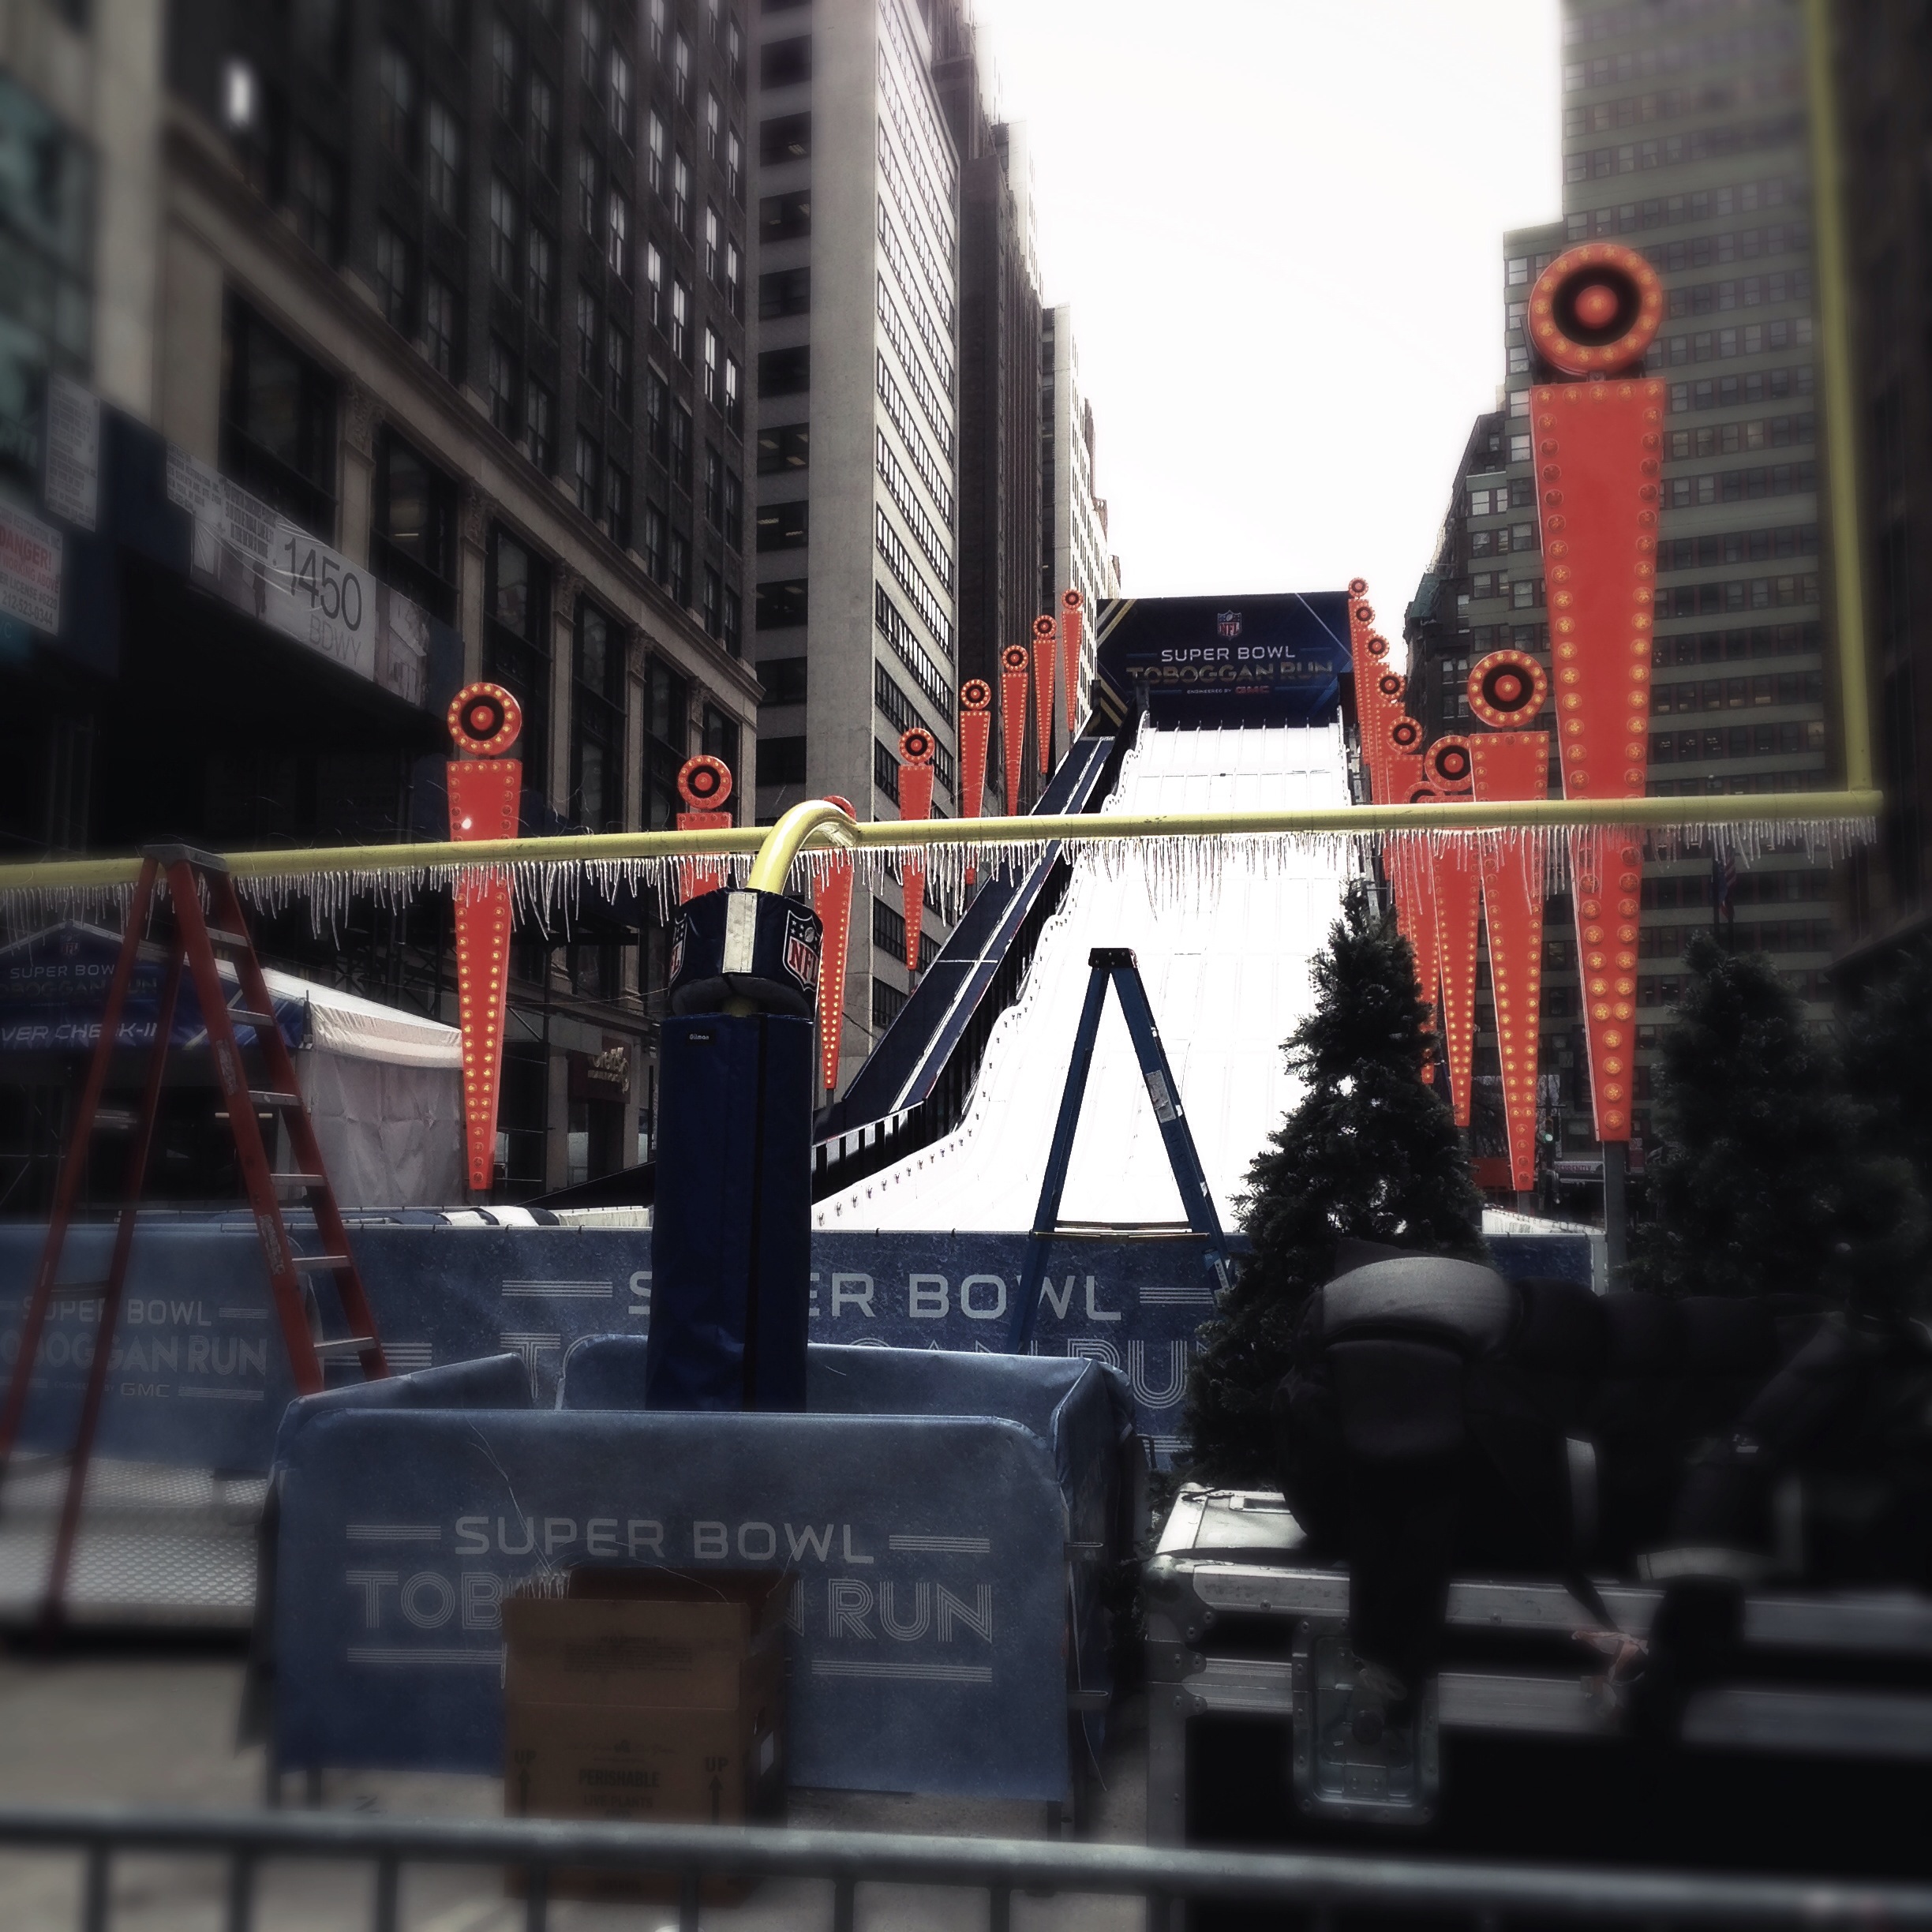
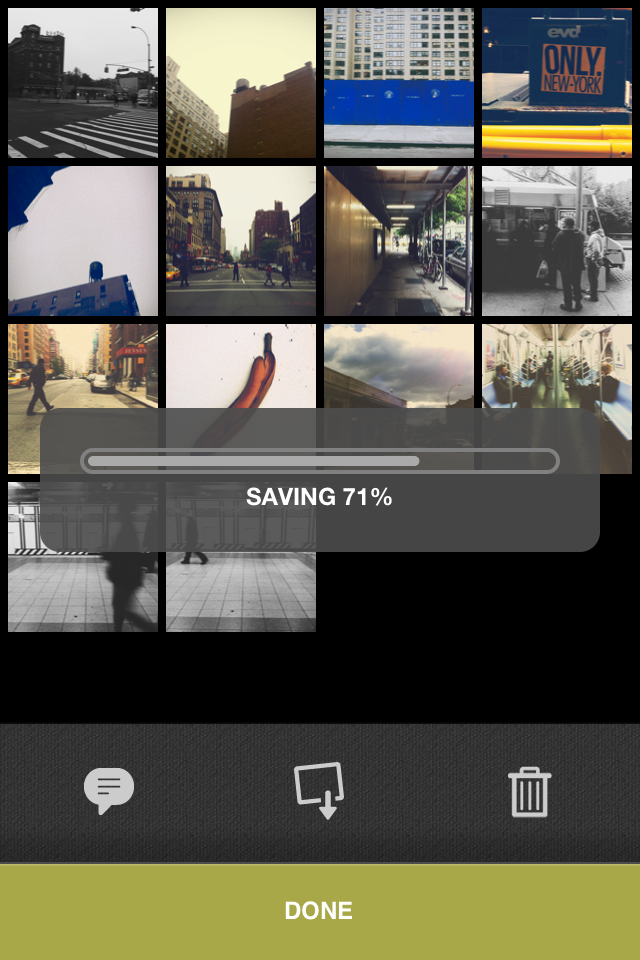
Saving images took a really, really long time.

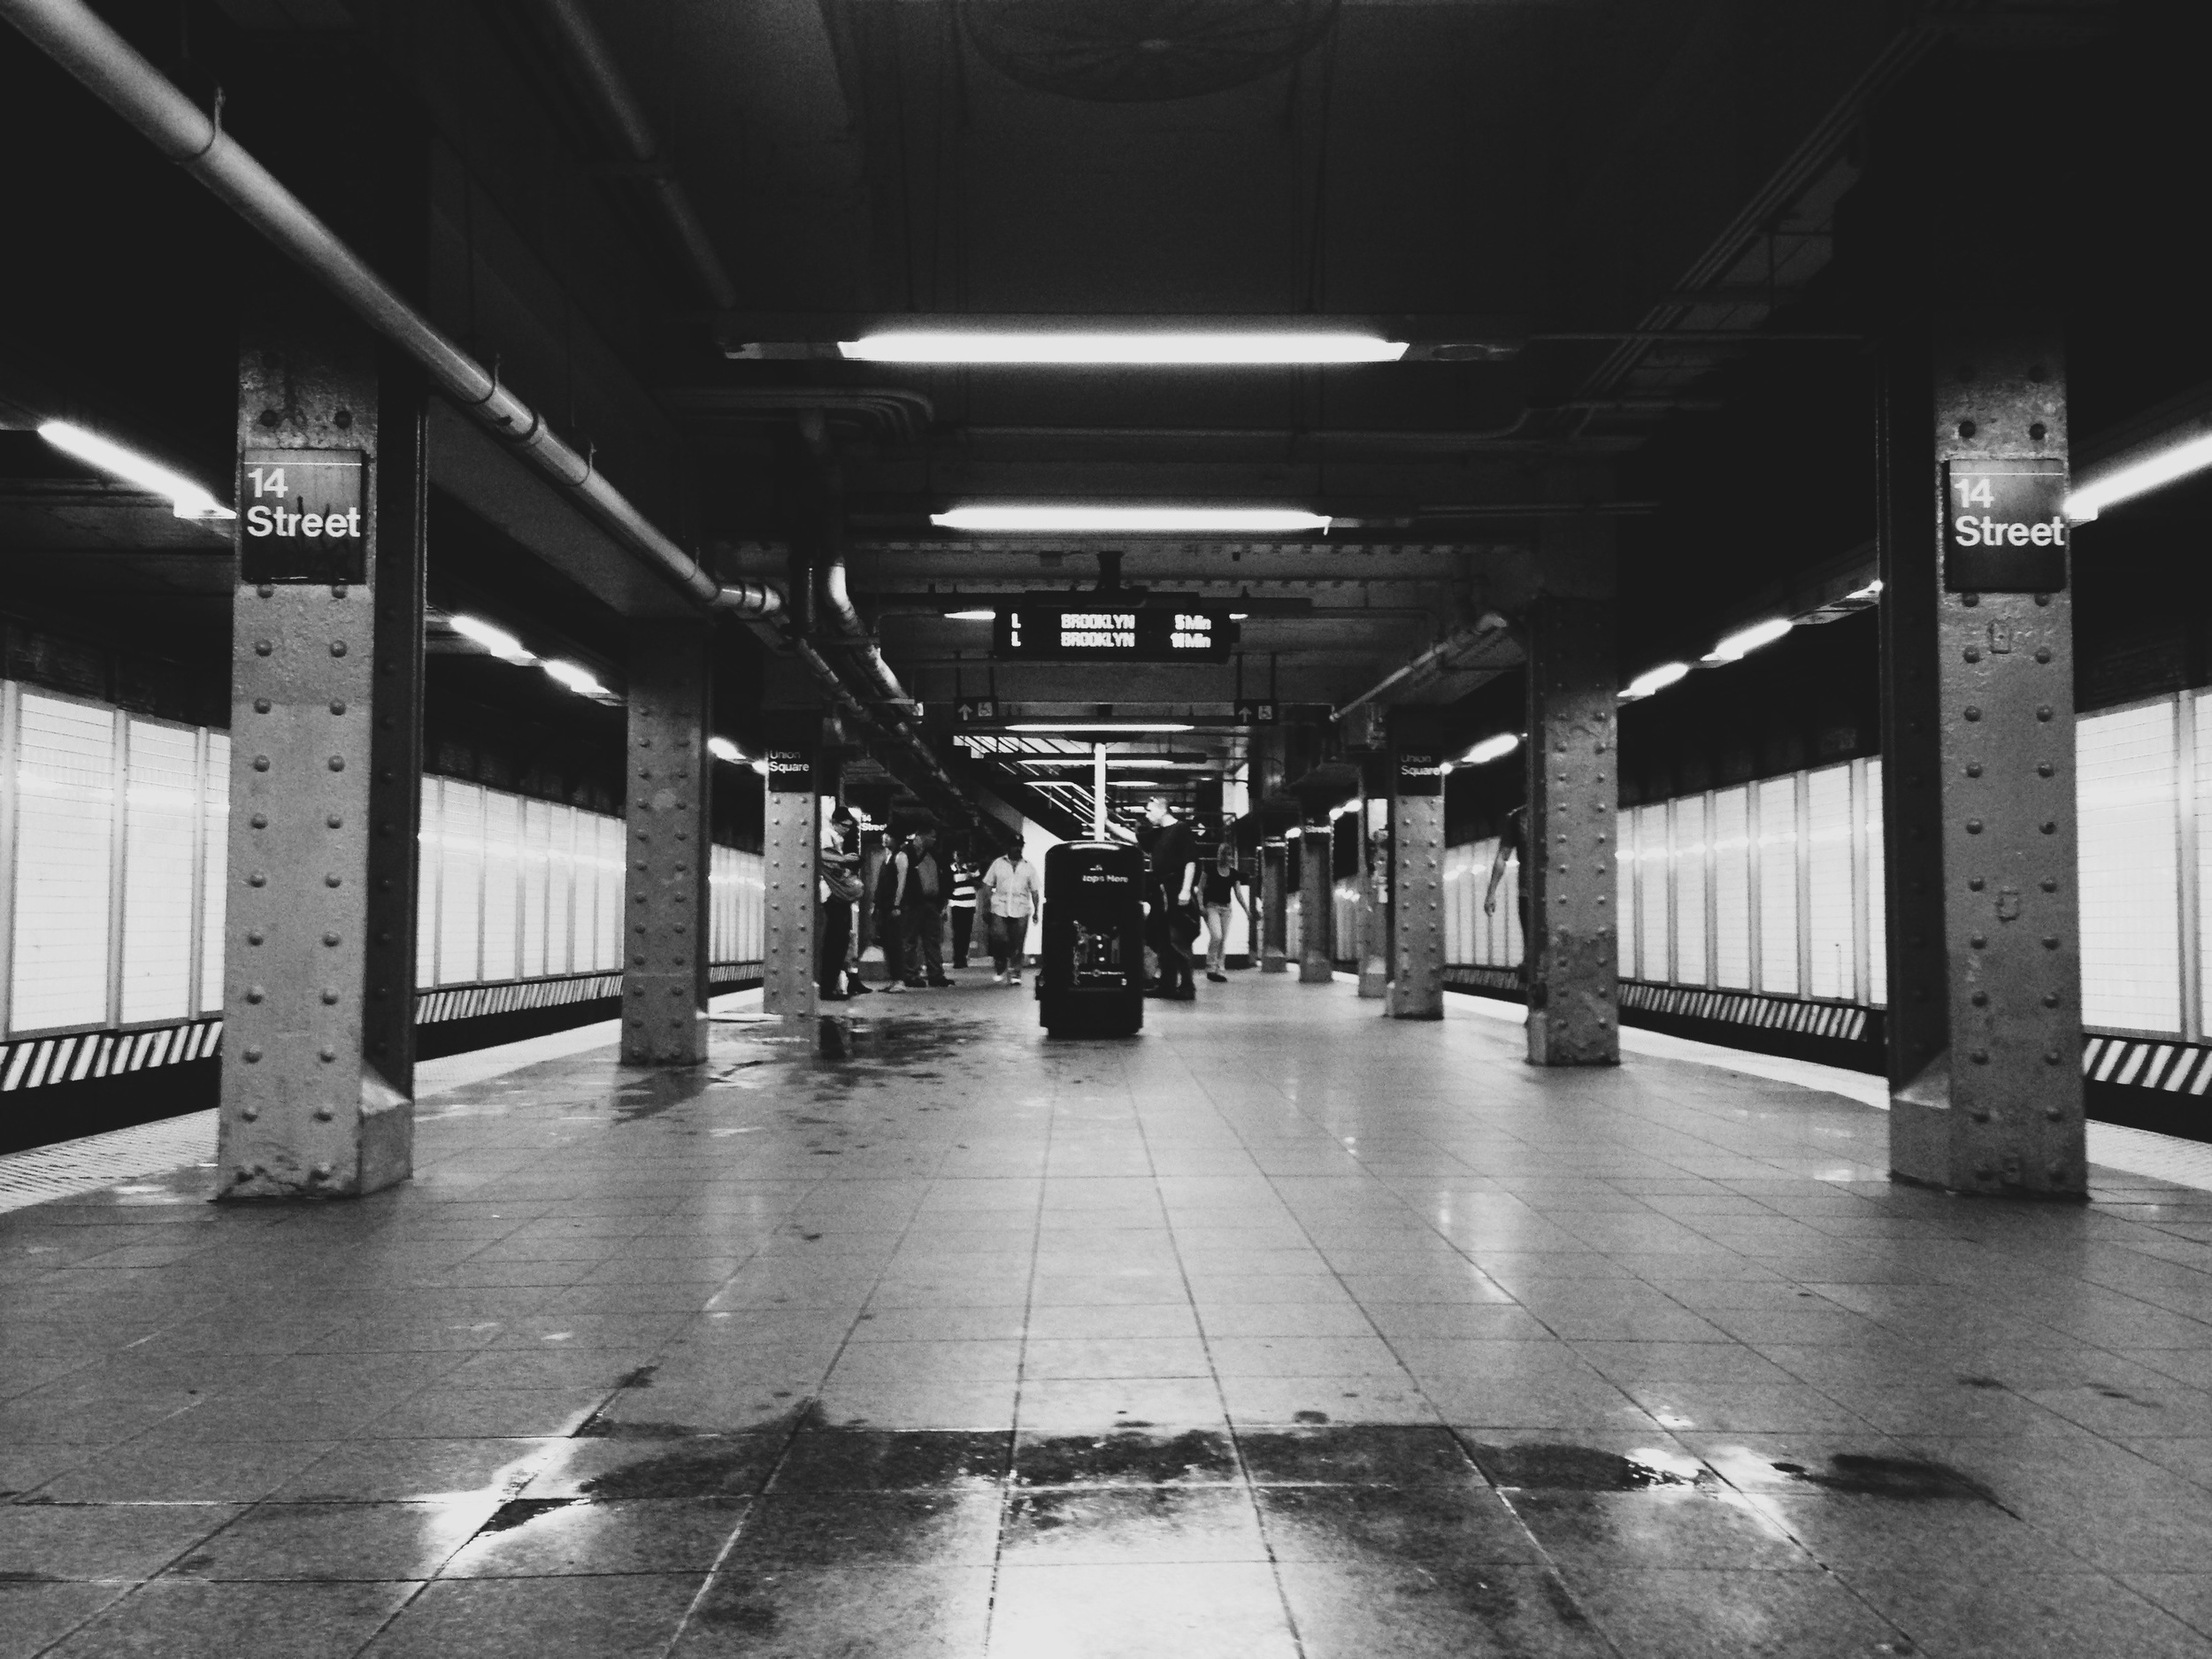
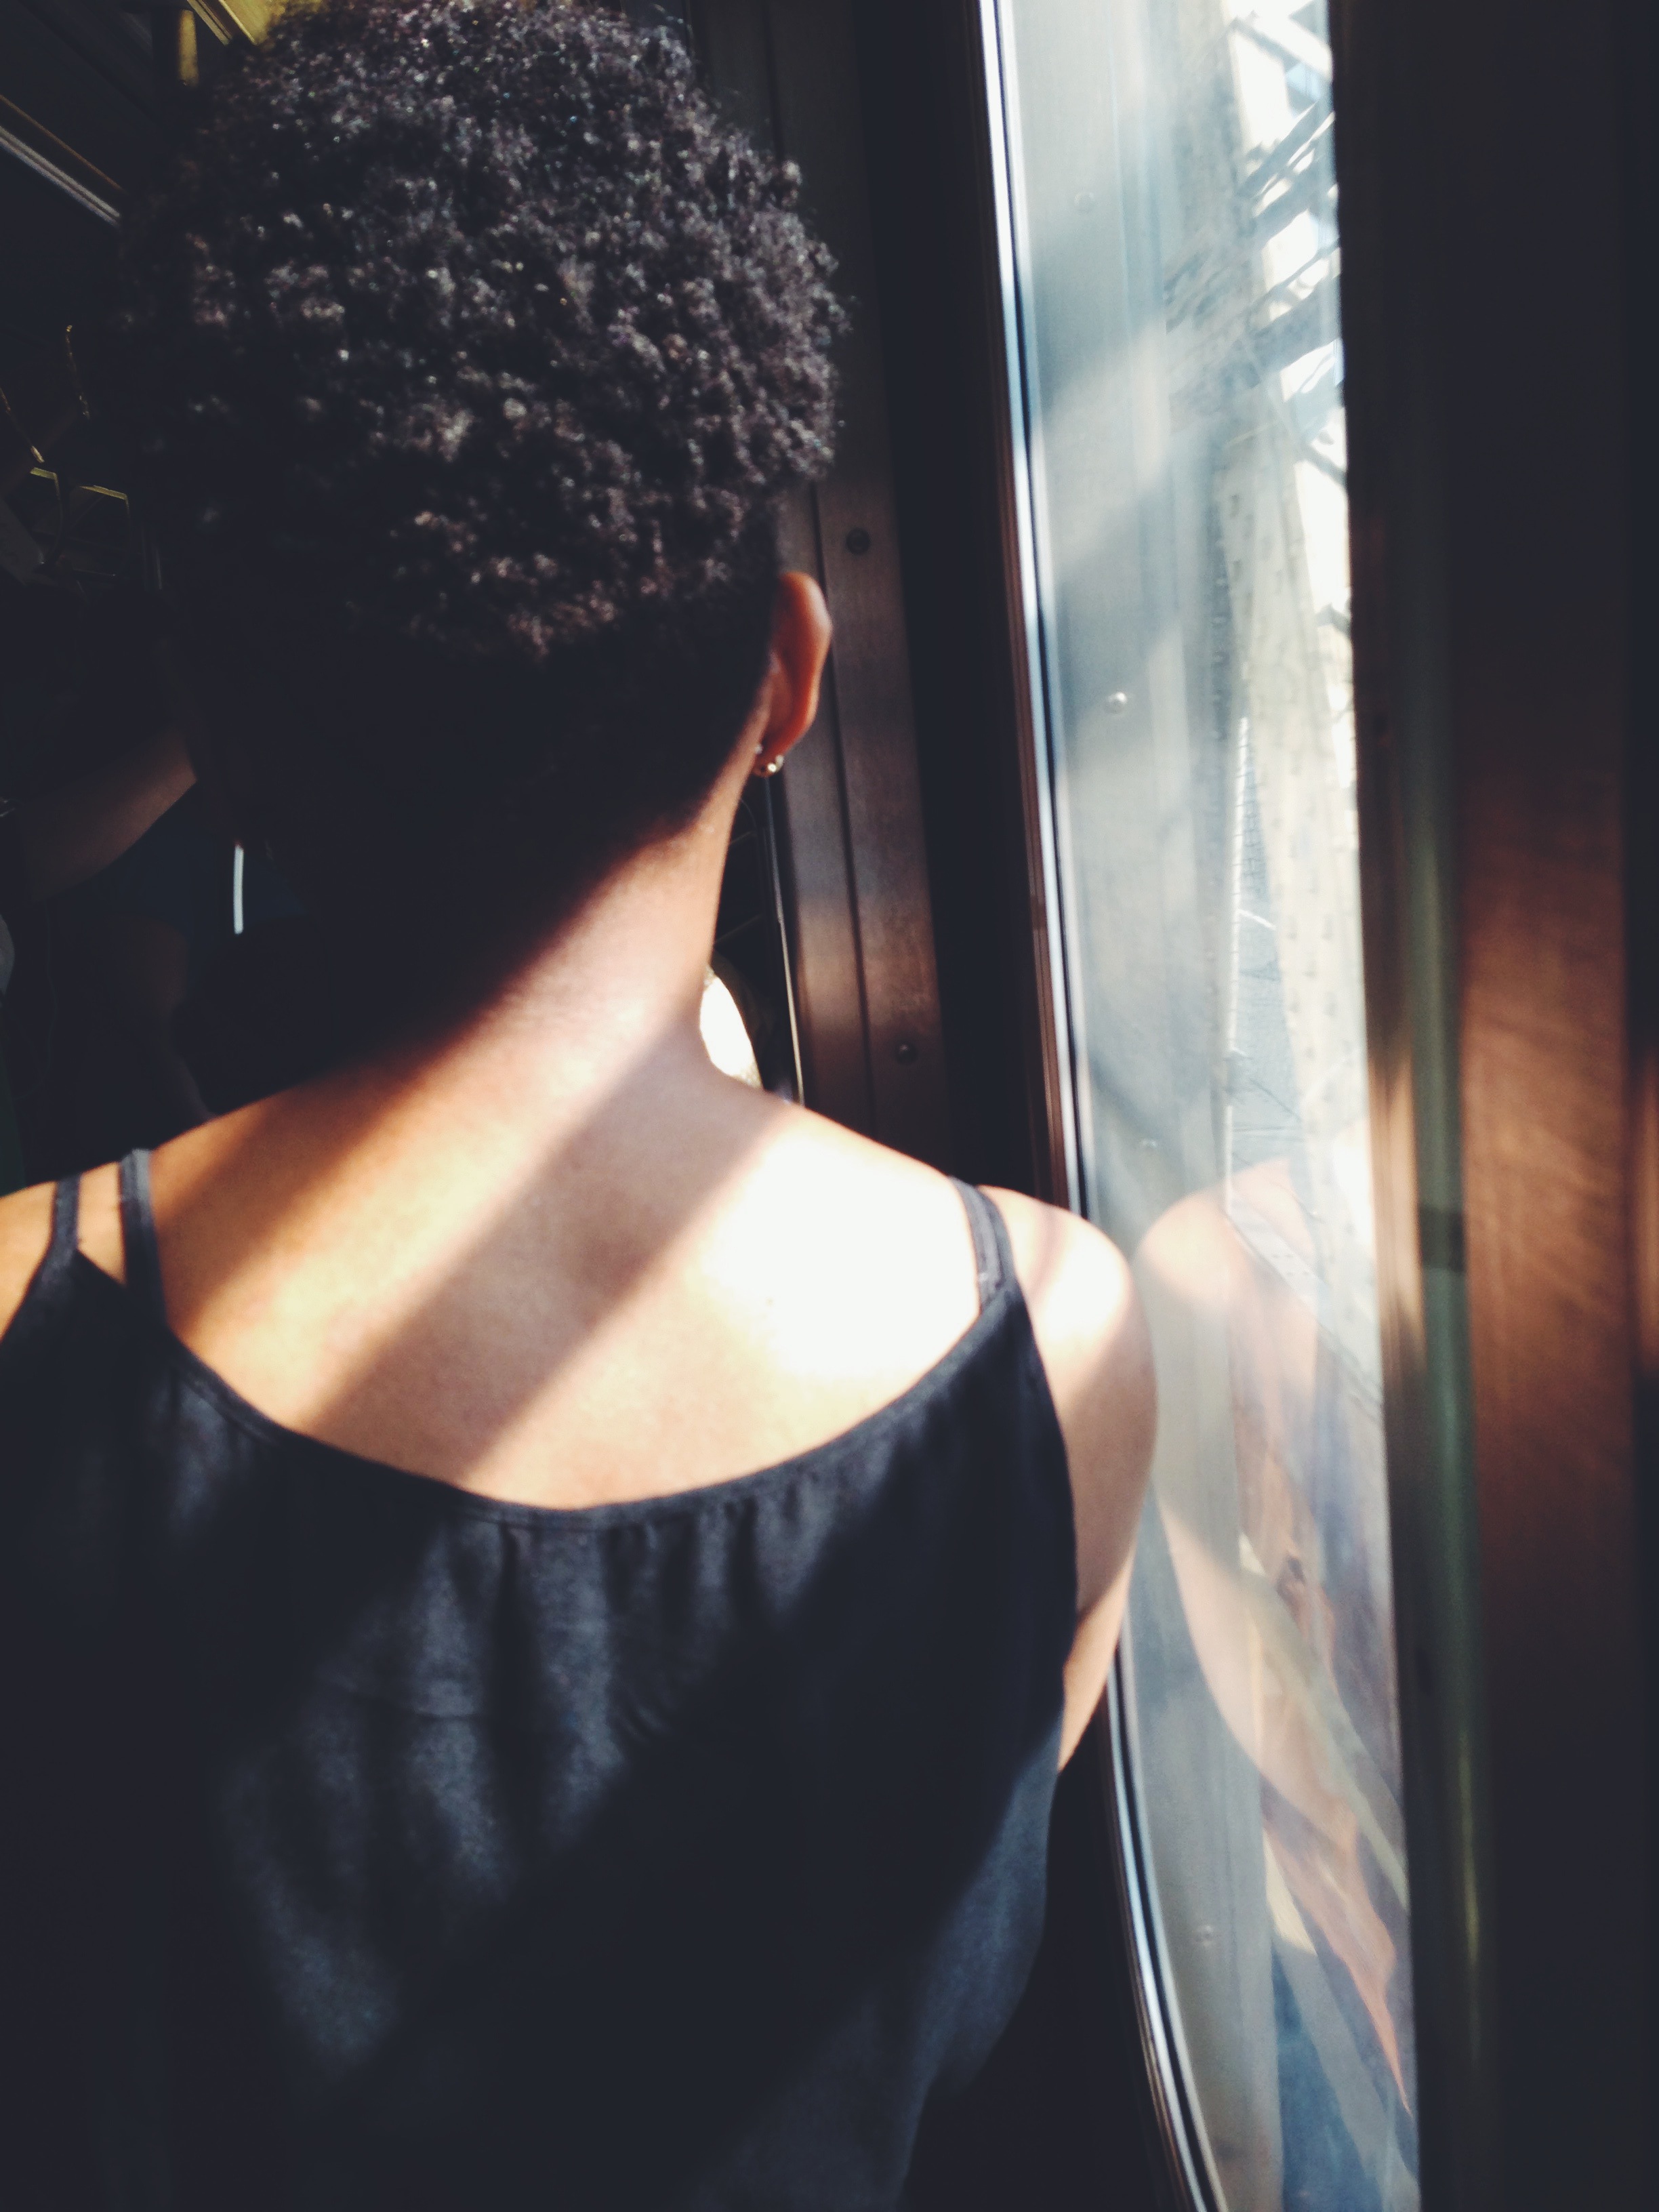
My one complaint with the app is how long it takes to save your processed images. On my way to work, I selected about 14 images that I had edited the night before,  and chose to save them to my iPhone 4’s Camera Roll at full resolution. I started the operation right as I was getting into the subway station near my house in Brooklyn and it wasn’t done until I was almost all the way over the Manhattan Bridge - that’s a solid 20 minutes at least, for those of you who aren’t familiar with Brooklyn. The progress bar that appears when you’re saving more than one image is not very responsive, so I almost force-quit the app a few times, thinking that it had crashed.

Overall, the experience of using the app is clean and minimal. With judicious application of the presets and settings, the photos that VSCO CAM produces really do capture that classic film feeling. The slow output ws the only thing that marred the experience for me - hopefully this is something the developers can optimize in an update to the app.