My Favorite Photoshop CS5 Feature: Repoussé

This image was created using the new Repoussé feature in Photoshop CS5

I was lucky enough to be a participant in Adobe’s private beta for Photoshop CS5 since last fall. One of the great things about the process is that you get first-hand exposure to the guys who are actually writing the code and implementing the features that eventually make it into the shipping product, and it really gives you an appreciation for how hard everyone involved in the project works. Of course there are tons of new features in the new version of Photoshop — like Content-Aware Fill/Healing, which has quickly become the “holy-crap-that’s-awesome” jaw-dropping feature of this release — but one of the ones that I’ve had the most fun with since I first got a chance to play with it is Repoussé.

Repoussé gets its name from a metal-working technique, where sheets of metal are shaped into shallow relief with a hammer. Its implementation in Photoshop allows you to turn the content of a layer — including text or vector shapes — into 3D objects. Creating 3D text is something that many have long wished for in Photoshop, because prior to now, you’d have to first go through the unwieldy steps of using Illustrator or some third-party software to create your text and then import it into Photoshop. If changes to the angle or position of the text or logo were necessary, that would involve going back out to the original source files, making changes, re-importing the art and applying your Photoshop manipulations all over again.

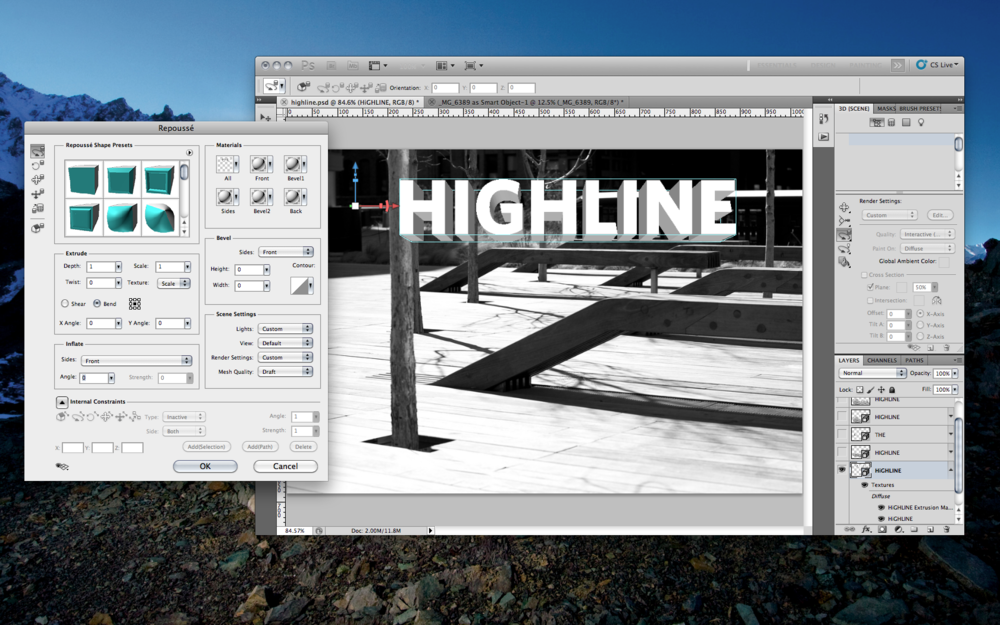
Repoussé on the other hand is simple to use. Simply select the layer with your text or artwork, and activate the 3D Panel (if it’s not already open, choose it from the Window menu, or choose 3D from the Workspaces menu at the top of the screen). Select the 3D Repoussé Object option and then click Create. (You can also navigate to Repoussé via the 3D menu at the top of your screen). 

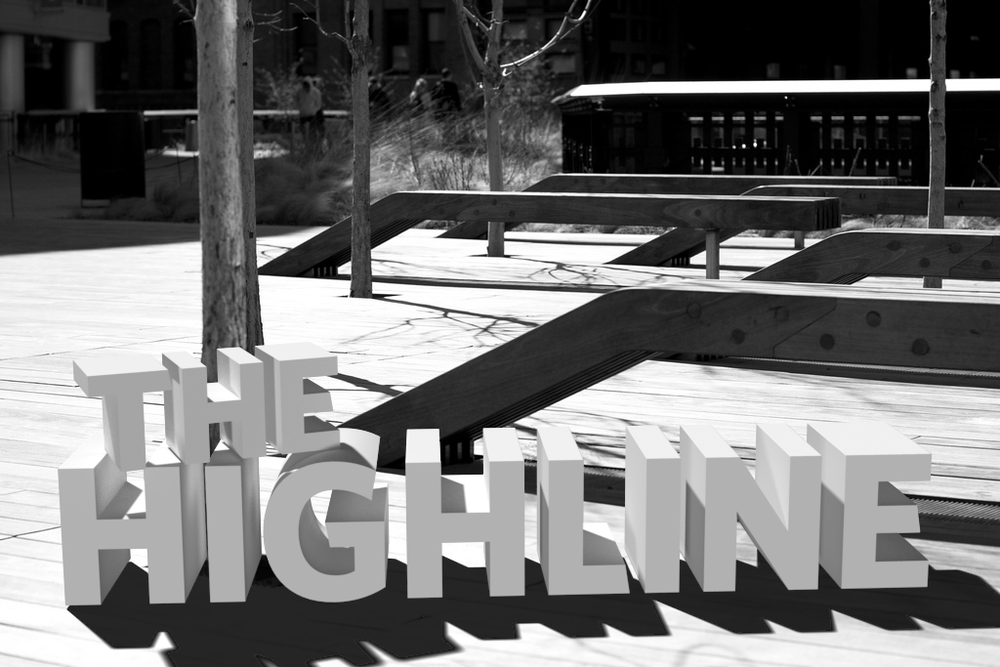
In the resulting dialog box, you can manipulate the way the 3D object is created - you can bend, twist, scale, bevel and inflate the surfaces of your 3D object. You can also punch holes in shapes, performing what 3D artists call boolean operations on them. The example at the top of this post was created by merging two 3D layers (one each, for the words “the” and “highline”), adding a ground-plane shadow-catcher, and adjusting the lighting and ground planes to match those found in the original photograph.

The Repoussé dialog box.

In combination with the other refined features of Photoshop CS5’S 3D engine, like image-based lighting, progressive rendering, camera depth-of-field and blur, and ground-plane shadow-catchers it is now possible to create more and more complex illustrations (and animations) within Photoshop, without having to use other software packages.

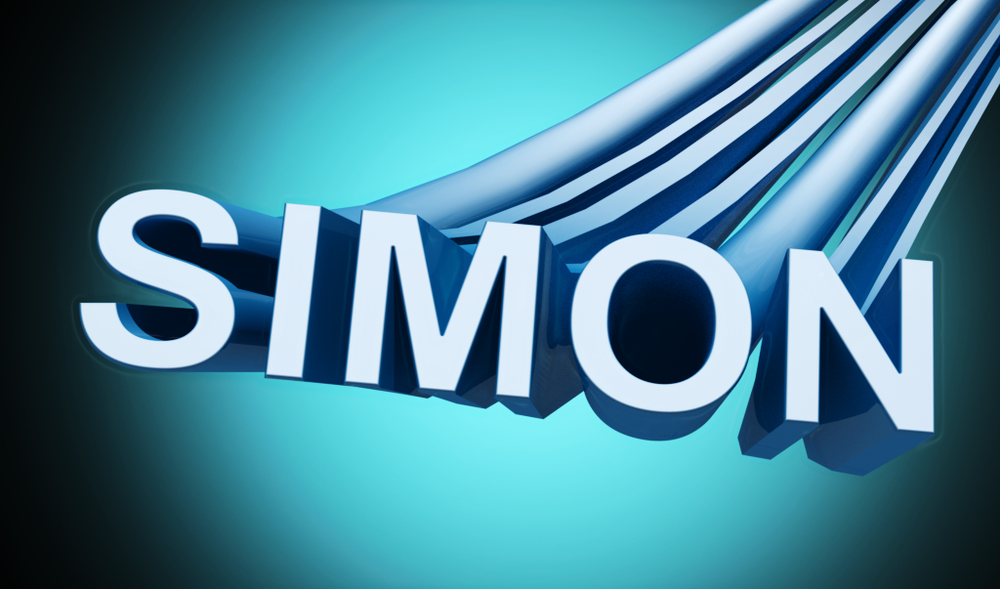
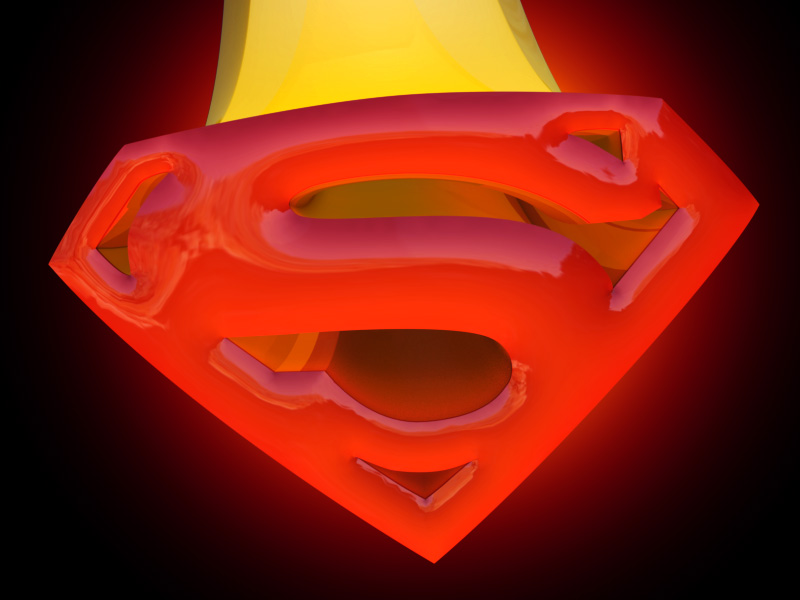
Here are a few more samples created with Repoussé:

This text was created using the bend and twist controls in the Repoussé dialog box.

Using the Pen tool, I traced an image of the Superman logo to create a vector shape. I then used Repoussé to texture and light the logo.

Robot Joe: One of 50 Awesome Robots on Abduzeedo

Robot Joe, 2006

Wow - this made my day: I discovered (rather late, I might add) that a 3D rendering of a robot that I did back in 2006 for a Maya class at SVA was featured on abduzeedo in a collection called 50 Awesome Robots. I consider this extremely high praise, because the caliber of artists featured on the site is always top-notch, and it’s humbling to be grouped among them.

Some fun facts about Robot Joe:


  • Robot Joe originated as vague idea I had for a video game back in the ’90s. See some early sketches here and here.
  • His current incarnation — and the name “Robot Joe” — is largely inspired by my friend and co-worker Joe (who happens to love robots)
  • Robot Joe is by far my most favorited and viewed image in my Flickr stream (13K views and counting)
  • He’s been widely used across the Internets (under Creative Commons licensing) for various purposes, including as a mascot for benderjab.org, as a desktop image in an eMINTS classroom, and on a website for a robotics conference workshop.


Aperture 3 and Syncing Multiple Libraries

Joseph Linaschke over at ApertureExpert.com has an excellent article that goes over in detail one of my favorite new features of Aperture 3: the ability to not only manage multiple libraries, but to synchronize them as well. If you work with Aperture on both a desktop and a laptop, it is now possible, for instance to have a pared down version of your library that goes on the road with you, and can be synced back to the main library once you’re back home. You can also export any project (or album or book, etc.) as a Library, move it to another machine, and open it up with no fuss. Changes made to the project — including metadata, adjustments, etc. — on either machine are applied when you sync, and Aperture does a great job handling conflicts between the two, allowing you to specify which library’s changes should take precedence. Head on over to the article for more details on how it all works.

Aperture Quick Tip: Update Your Metadata Presets

Aperture’s metadata is saved in an XML document and can be easily updated.

Aperture users: Are you using Metadata Presets? If not, you should consider it - they’re really handy for entering metadata on large numbers of images, particularly at the point of import. I have one fairly generic preset that just has my copyright info, country, and name, which I use for everyday shooting, and come up with others depending on the shoot (travel, events, etc). What I realized when the new year rolled around was that my copyright still said “©2009 Simon Abrams. All Rights Reserved.”, and that I had no easy way of changing it, due to Aperture’s woefully spartan interface for managing or editing metadata presets. In Aperture’s current incarnation, all you can do is add, rename or delete a preset; you can’t edit any of the text within it.

So what to do? Well, a little poking around in the Application Support folder (specifically ~/Library/Application Support/Aperture) reveals that Aperture’s metadata presets are (quasi-)conveniently contained in an XML document. Simply opening up the file in your text editor of choice enables you to make changes to the metadata content, save it, and voila, you’re in business. Of course, ideally, you’d be able to make these simple edits in Aperture itself - maybe we can add this to our wishlist for (the increasingly vaporware-ish) Aperture 3.

Goro Fujita: Chapter 56

Almost Stepped in It by Goro Fujita

I stumbled across German artist Goro Fujita’s blog Chapter 56, which is full of amazing paintings, drawings, sketches and tutorials. His style is whimsical and humorous, and often features robots or other fantastical creatures interacting with the natural world. Check it out at www.area-56.de.